SPONSORED CONTENT
How to achieve the perfect finish

This article sponsored by Festool Canada
The right sander, the right abrasive, and the right technique — the three essentials to professional results.
A flawless finish doesn’t happen by accident. It’s the result of understanding your tools, your materials, and the process that ties them together. Choosing the right sander, abrasive, and technique can make all the difference between a surface that looks good and one that feels professional.
The first step is sander selection — and that depends entirely on what you’re working on. Are you sanding bare wood in preparation for stain, stripping old paint, or flattening a tabletop? Is the surface large and open, or small and profiled? Each job calls for a different approach.
For most general-purpose sanding, a random orbit sander is hard to beat. It combines speed, versatility, and a great finish. The 6″ (150 mm) models are especially efficient, covering about 44% more surface area per pass than a 5″. Their dual action — rotating and orbiting at the same time — helps prevent swirl marks while removing material quickly. The larger the orbit (or “throw”), the more aggressive the cut. For example, sanding a tabletop calls for something like the Festool ETS EC 150/5, a 6″ sander with a 5 mm (3/16″) orbit that’s fast and stable on big, flat surfaces.
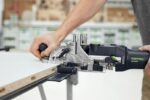
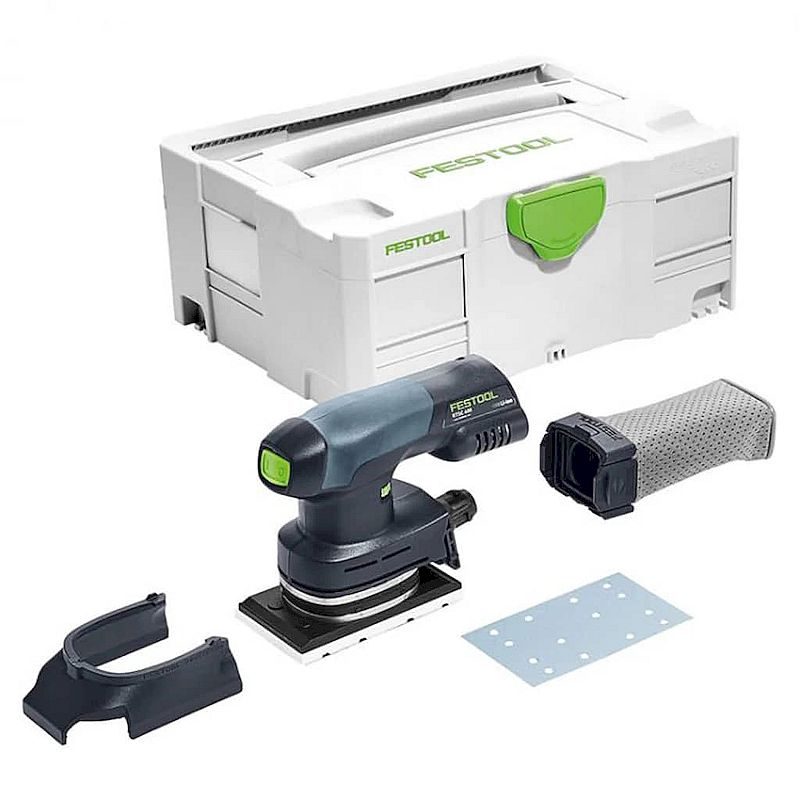
When it comes to more detailed work — like turned table legs or shaped moldings — smaller orbital sanders with shaped pads shine. Models such as the Festool RTS 400 and DTS 400 are designed for precision sanding in tight areas, making them ideal for profiles, grooves, and decorative details. These sanders don’t spin; instead, they move in tiny orbits, giving you control without cutting too aggressively.
Abrasive choice is just as important. Think of each grain of sandpaper as a tiny cutting tool. Different abrasives perform differently depending on the job. Aluminum oxide, for example, is “friable” — it fractures as it wears, exposing fresh cutting edges. Other materials, such as ceramics or silicon dioxide, offer greater durability or finer cutting action.
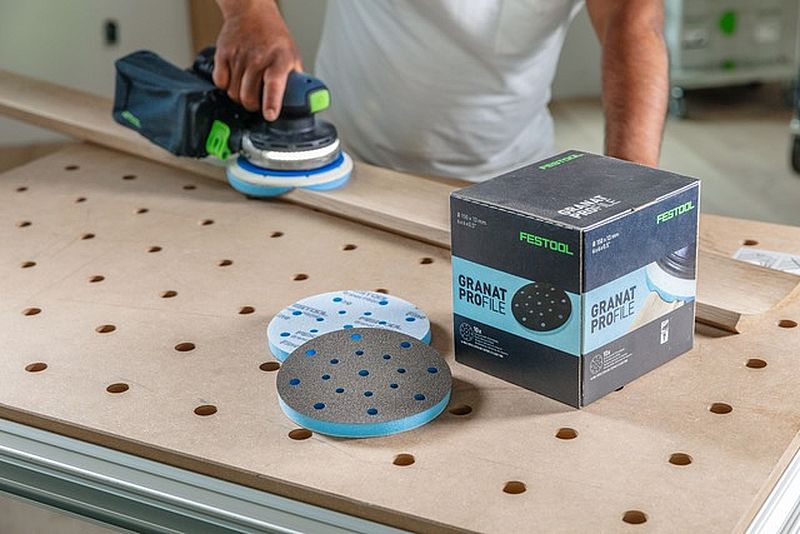
The backing of the abrasive also matters. Flexible backings work well on curves, while stiffer ones help keep flat surfaces true. For bare wood, Festool’s RUBIN line is specifically engineered to reduce loading and deliver a smooth, uniform surface. For a wider range of materials — from bare wood to finished or painted surfaces — GRANAT abrasives are a reliable, long-lasting choice. They’re available as sheets, mesh, or even foam-backed pads under the GRANAT PROfile name, designed for contoured or profiled work.
Once you’ve chosen your sander and abrasive, it’s time to think about grit progression. Grit refers to the size of the abrasive particles — the lower the number, the coarser the grit. Coarse grits remove material faster but leave deeper scratches. The key is to start coarse enough to level the surface, then work through finer grits until you reach the desired smoothness.
As a general guide, sanding bare wood might begin with P120 grit and finish at P150 or P180, especially if the surface will be stained or clear-coated. If you’re refinishing a coated piece, you’ll need a coarser starting point to remove the old finish. When in doubt, start finer — it’s easier to move to a coarser grit than to fix deep sanding marks later.
Technique is everything. Keep the sander flat, maintain a steady pace, and overlap each pass slightly. Moving the sander too quickly can leave visible patterns or uneven areas. A good rule of thumb is about one inch per second — slow and steady wins the race here.
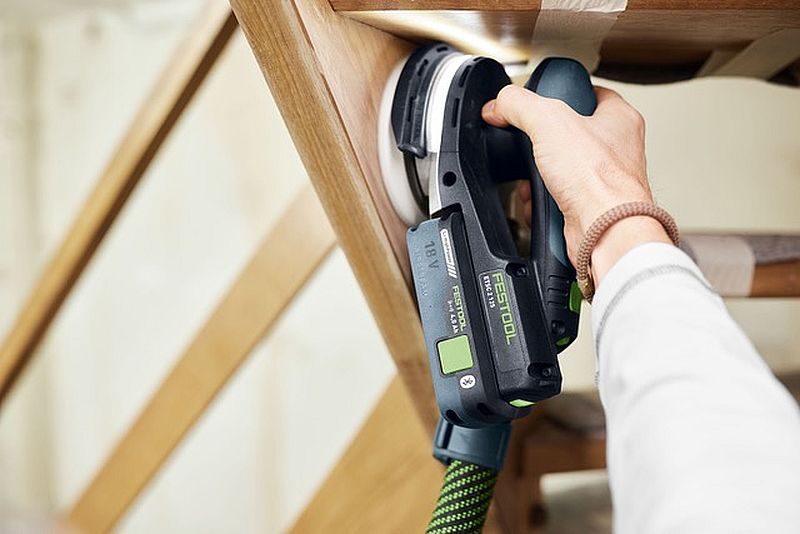
Lighting makes a huge difference in seeing what you’re doing. A raking light — one placed at a shallow angle across the surface — will highlight scratches or imperfections before finishing. Some modern sanders, like the Festool ETSC 2, take that a step further with integrated LED lighting that illuminates the work area as you sand. It’s like having your own built-in inspection light.
Dust collection also plays a major role in finish quality. Every sanding pass creates fine dust, or “swarf,” that can clog the abrasive and scratch the surface if not removed. Festool’s JETSTREAM system tackles this by pulling air through both the outer holes and the center of the pad, keeping the abrasive cleaner and more effective. Better dust extraction not only extends the life of your sanding discs but also helps prevent those telltale swirl marks.
Finally, resist the urge to press down on the sander. Let the tool do the work — that’s what it’s designed for. Too much pressure can slow pad rotation and fatigue your hands without improving results. For edge work or curved areas, match your pad to the job: a Hard pad maintains crisp corners, while a Soft pad or interface foam pad is better for rounded or contoured shapes.
In the end, the secret to the perfect finish isn’t just in the tool or the abrasive — it’s in how well you understand the process. Choose the right combination of sander, abrasive, grit progression, and technique, and your projects will not only look professional — they’ll feel it too.

Pro Tips for Flawless Sanding
1. Mark your progress
Lightly pencil crosshatch lines on the surface before sanding. When they disappear evenly, you’ll know the surface is uniformly smooth.
2. Work through the grits
Skipping grits may save time, but it often leaves hidden scratches that show up under finish. Move progressively — for example, P80, P120, P150, P180.
3. Keep it flat
Tilting the sander can gouge edges or leave dips. Keep the pad flat and even pressure throughout.
4. Let the sander do the work
Excess pressure slows the pad and reduces effectiveness. A light touch produces a smoother, more uniform finish — and saves your shoulders too.
5. Stay dust-free
Dust isn’t just messy — it’s the enemy of a clean finish. Connect your sander to a vacuum or dust extractor to keep abrasives cutting clean and swirl marks to a minimum.